
Essential tips for cleaning leather shoes
Clean leather shoes at home without soaking or harsh scrubbing — gentle tools, minimal moisture, and natural drying for genuine and faux leather.
Clean leather shoes the right way by removing dirt gently, using minimal moisture, conditioning real leather, and letting the shoes dry naturally. The same careful approach helps protect faux leather shoes too, but faux leather needs less conditioning and more attention to surface cracking. Use this guide to clean leather shoes at home without soaking, scraping, or dulling the finish.
What do you need before you start?
You need a few gentle tools, a clean workspace, and patience. Leather can handle regular care, but it does not respond well to harsh scrubbing, excess water, direct heat, or strong household cleaners. Before you begin, identify whether your shoes are smooth leather, suede, nubuck, patent leather, or faux leather, because each material needs a slightly different touch.
Shoe cleaning kit with polish, leather cleaner, horsehair brushes and clothsGather these basics:
- A soft shoe brush or clean microfiber cloth
- A small bowl of lukewarm water
- Mild soap, saddle soap, or leather cleaner made for shoes
- A separate dry cloth for wiping residue
- Leather conditioner for smooth genuine leather
- Shoe polish or cream, if you want to restore color and shine
- Newspaper, shoe trees, or clean paper for shaping while drying
- A suede brush and eraser for suede or nubuck shoes
Always test any cleaner on a hidden area first, such as the inside edge or tongue. If the color transfers, darkens unevenly, or the finish becomes sticky, stop and use a gentler method.
1. Remove laces and loose inserts
Take out the laces before you clean leather shoes. Laces trap dirt along the eyelets, and leaving them in place makes it harder to clean the tongue and upper evenly. If the laces are dirty, wash them separately by hand with mild soap and water, then let them air dry.
Remove any loose insoles if possible. This gives the shoe more airflow and helps reduce trapped moisture or odor. Do not soak leather insoles unless the manufacturer specifically says they can be washed. Instead, wipe them lightly and let them dry away from heat.
Stuff the shoes with newspaper, plain packing paper, or shoe trees. This helps the shoes hold their shape while you work and gives you a firmer surface to clean against.
2. Brush away surface dirt
Start dry. Use a soft brush or microfiber cloth to remove dust, mud, grit, and salt particles from the shoe surface. This step matters because rubbing cleaner into loose dirt can create tiny scratches, especially on polished leather.
Work from the top of the shoe down toward the sole. Pay attention to seams, stitching, the welt, and the crease area near the toe box. If dried mud is stuck to the shoe, let it fully dry first, then brush it away gently rather than wiping it while wet.
For soles and edges, use a slightly firmer brush if needed, but keep that brush away from the leather upper. Dirt from the sole can stain or scratch the more delicate finish.
3. Wipe the leather with minimal moisture
Dampen a microfiber cloth with lukewarm water and wring it out until it is barely wet. The cloth should feel damp, not dripping. Wipe the shoe in small sections, using light pressure and smooth strokes.
If plain water is not enough, add a small amount of mild soap or leather cleaner to the cloth. Do not pour cleaner directly onto the shoe. Too much product can leave residue, darken the leather, or collect in stitching.
After cleaning each section, use a second cloth lightly dampened with plain water to remove soap residue. Then wipe with a dry cloth. This rinse-and-dry rhythm keeps the leather from becoming oversaturated while still lifting everyday dirt.
4. Clean seams, creases, and textured areas carefully
Creases, brogue holes, textured grain, and stitching often hold more dirt than the smooth panels. Use a soft-bristled brush, cotton swab, or wrapped cloth corner to reach these areas. Move slowly and avoid digging into the material.
For stubborn grime around the welt or stitching, apply a tiny amount of leather cleaner to the brush and work it in lightly. Wipe away residue immediately with a clean cloth. If the stitching is light-colored, avoid colored polish during this stage because it may stain the thread.
Do not use sharp objects to scrape dirt from seams. A toothpick, knife tip, or metal tool can cut the stitching or leave permanent marks in the leather.
How do you clean faux leather shoes without damaging them?
To clean faux leather shoes, use a damp microfiber cloth, mild soap, and very light pressure, then dry the surface immediately. Faux leather is usually a coated material, so it does not absorb conditioner the same way genuine leather does. The goal is to clean the surface without weakening the coating or causing peeling.
Follow this simple faux leather method:
- Brush off loose dirt with a dry cloth.
- Mix a small drop of mild soap into lukewarm water.
- Wipe the shoe gently with a barely damp cloth.
- Clean around seams and soles with a soft brush.
- Remove soap residue with a clean damp cloth.
- Dry the shoes with a towel and let them air dry.
Avoid alcohol, bleach, acetone, abrasive pads, and heavy oils. These can strip the finish or make faux leather crack faster. If the shoes are already peeling, cleaning can improve appearance slightly, but it will not repair the damaged coating.
5. Treat stains based on the problem
Not every stain should be handled the same way. A targeted approach is safer than scrubbing the entire shoe aggressively. When in doubt, start with the mildest option and repeat gently rather than using a stronger cleaner right away.
Stain typeWhat to doWhat to avoidMudLet it dry, brush off, then wipe lightlySmearing wet mud deeper into seamsWater spotsWipe the whole panel evenly with a damp clothSpot-cleaning one tiny area and creating ringsSalt marksUse a lightly damp cloth, then dry and conditionLeaving salt on the leather overnightScuffsBuff with a cloth, then use matching polish if neededScraping with hard toolsGreaseBlot gently and use a leather-safe cleanerFlooding with water or dish detergentFor expensive, delicate, or sentimental shoes, stop if the stain spreads or the color changes. A professional shoe repair shop can often help with stains that home cleaning cannot safely remove.
6. Let the shoes dry naturally
Drying is not a throwaway step. Leather that dries too quickly can become stiff, warped, or cracked. Place the shoes in a cool, ventilated area and let them dry at room temperature.
Keep them away from radiators, hair dryers, fireplaces, direct sunlight, and heated vents. Heat may seem convenient, but it can shrink leather fibers and damage adhesives. If the shoes feel very damp, replace the paper stuffing after an hour or two so it continues absorbing moisture.
Most routine cleaning leaves shoes only slightly damp, so they should not need extreme drying measures. Wait until the leather feels fully dry before conditioning, polishing, or wearing them again.
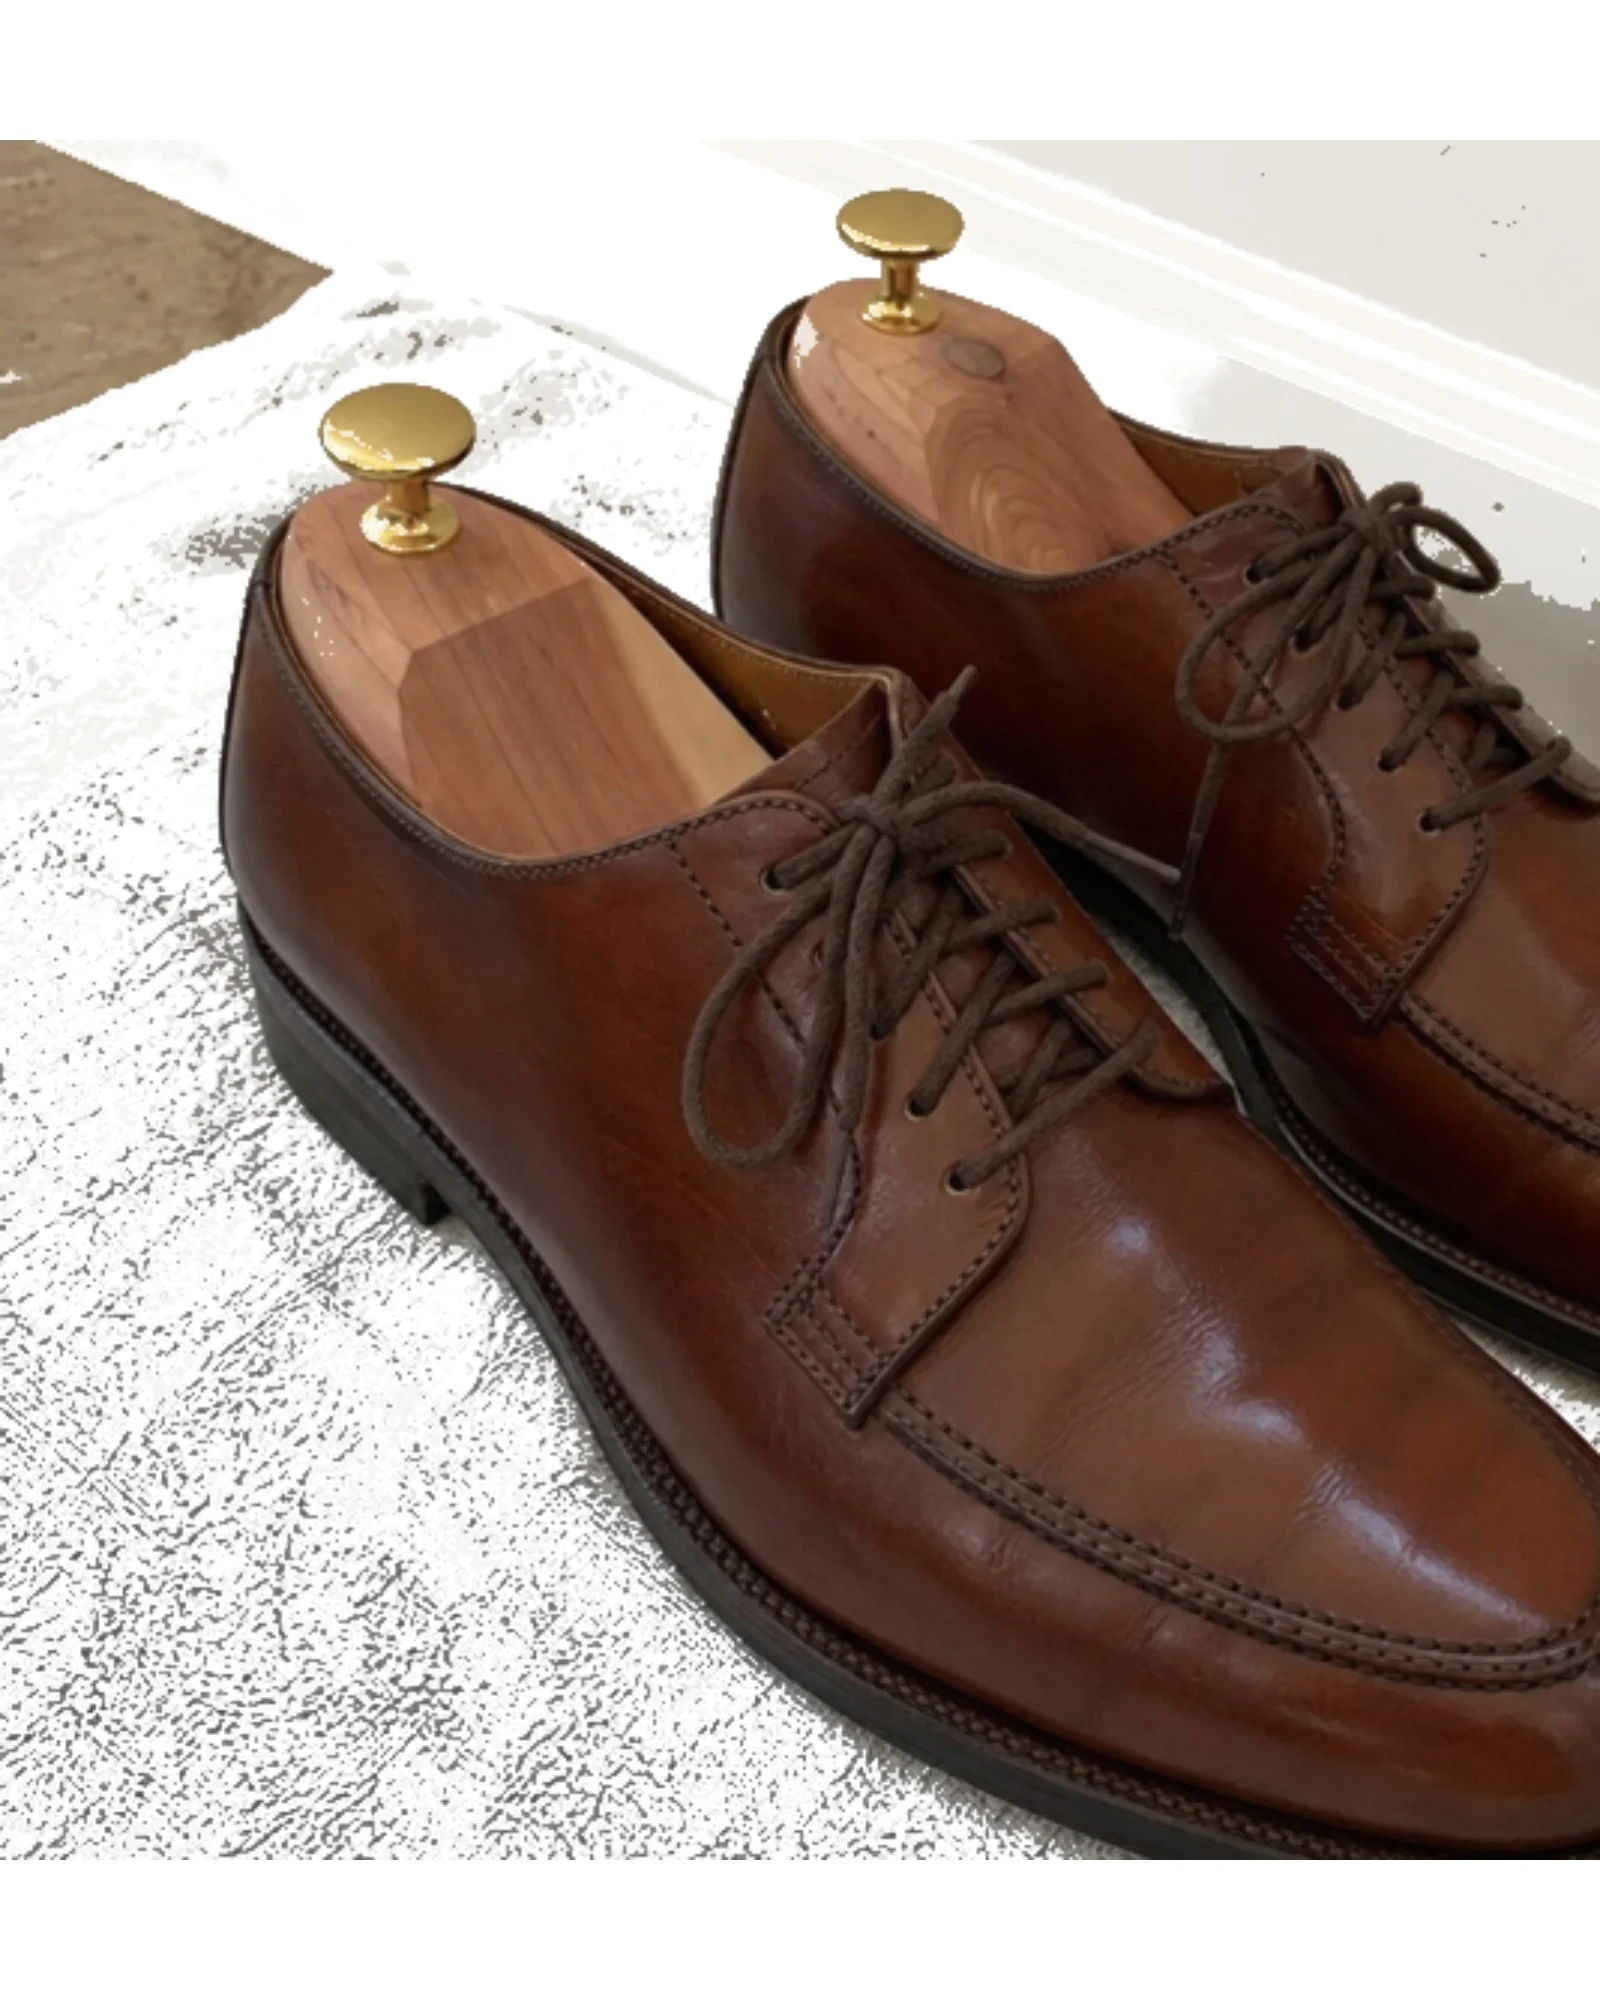
Brown leather derby shoes with cedar shoe trees after cleaning7. Condition smooth genuine leather
Conditioner helps replace some of the oils lost through wear, weather, and cleaning. This step is for smooth genuine leather, not suede, nubuck, patent leather, or most faux leather. Use a small amount of leather conditioner and apply it with a soft cloth in thin, even layers.
Let the conditioner absorb according to the product directions, then buff away any excess. More conditioner is not better. Over-conditioning can leave shoes greasy, attract dust, or soften the leather too much.
Focus on flex points, such as the vamp where the shoe bends as you walk. These areas are more likely to dry out and crease. Regular light conditioning is better than waiting until the leather looks parched and then applying too much product at once.
8. Polish and protect the finish
Polish is optional, but it can restore color, reduce the appearance of scuffs, and add shine. Choose a polish or cream that matches the shoe color, or use a neutral product if you only want a subtle finish. Apply a thin layer, let it sit briefly, then buff with a soft brush or cloth.
For a high shine, use several thin layers rather than one heavy coat. Heavy polish can build up in creases and make the surface look cloudy. Keep polish away from suede panels, light stitching, and rubber soles unless the product is designed for those areas.
A leather protector spray can add a layer of resistance against light moisture and stains. It does not make shoes waterproof, but it can make routine cleaning easier. Apply it only after the shoes are clean and dry.
9. Handle suede and nubuck differently
Suede and nubuck are leather, but they should not be cleaned like smooth leather. Water and regular leather conditioner can flatten the nap and create stains. Use a suede brush to lift dirt and restore texture instead.
For marks, try a suede eraser or a clean rubber eraser with gentle pressure. Brush afterward to even out the surface. If the shoes are wet, let them dry naturally first, then brush the nap back into place.
Use a protector spray made specifically for suede or nubuck. Apply it in a ventilated area and follow the product directions. If the shoes have deep staining, color loss, or heavy water damage, professional cleaning is usually safer than repeated home attempts.
What mistakes should you avoid when cleaning leather shoes?
The biggest mistake is treating leather like washable fabric. Leather needs gentle cleaning, controlled moisture, and slow drying. Harsh shortcuts may make shoes look cleaner for a moment but can shorten their life.
Avoid these common errors:
- Soaking shoes in water or rinsing them under a tap
- Using bleach, ammonia, acetone, or harsh stain removers
- Drying leather with direct heat
- Scrubbing polished leather with abrasive pads
- Applying conditioner to suede or nubuck
- Using too much polish or leaving product buildup in creases
- Wearing shoes before they are fully dry
- Storing damp shoes in a closed closet or plastic bag
If you are unsure whether a product is safe, test first and wait for the area to dry before continuing. Leather often darkens temporarily when damp, so judging the result too quickly can lead to overcleaning.
Keep shoes cleaner between deep cleans
Good maintenance makes every future cleaning easier. After each wear, wipe shoes with a dry cloth and let them air out before storing them. Use shoe trees when possible to reduce creasing and help the shoes keep their shape.
Rotate your shoes instead of wearing the same pair every day. This gives moisture from normal wear time to evaporate. Store leather shoes in a breathable bag or open shelf, not in airtight plastic.
A simple routine works best: brush off dirt after wear, clean spots early, condition smooth leather when it starts to feel dry, and polish when the finish looks dull. With steady care, you can clean leather shoes confidently while preserving their shape, color, and finish.